Orchid Care
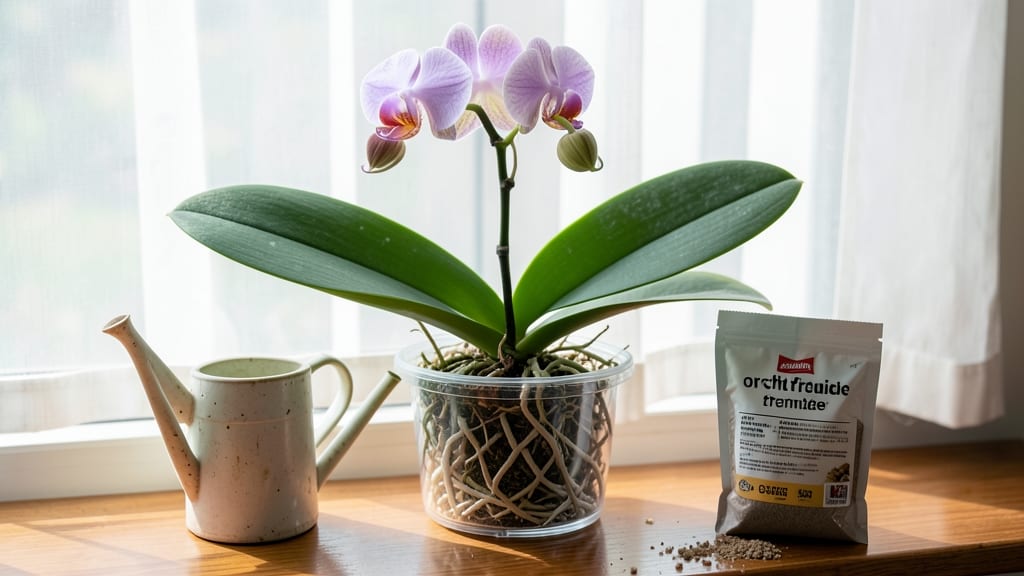
Caring for indoor orchids after flowering isn’t just about survival—it’s about setting them up for their next stunning bloom cycle. 🌿 I’ve learned that the moment those last petals drop, the real work begins, and it’s easier than you think.
The key is adjusting light, water, and feeding to match their new growth phase, not the showy flowering stage.
First, move your orchid to bright, indirect light—think east-facing windows or a few feet from a south window. Cut back on watering to once every 7-10 days, letting the roots dry slightly between soakings.
Prune the spent flower spike only if it’s brown and shriveled, but leave green spikes alone—they might rebloom! Fertilize lightly with a balanced orchid mix every 4-6 weeks to fuel new growth.
You’ll notice fresh leaves emerging within 4-6 weeks, signaling the plant is thriving. These new leaves are your orchid’s energy reserves for next year’s blooms. Keep an eye out for pests like scale or mealybugs, and repot every 2-3 years to refresh the mix.
The payoff? A healthier plant that blooms longer and more reliably each season.
This method works for Phalaenopsis (the most common type) and other popular orchids too. Whether you’re a first-timer or a seasoned grower, these steps keep your orchids happy year-round. Let’s get those roots growing!
📚 In This Guide
- What you need
- Instructions
- Tips and common mistakes
- Wrapping up and next steps
What you need
- ● Well-draining orchid mix: 1 bag (1-2 cubic feet) of bark-based or fir bark mix (avoid peat-heavy blends).
- ● 6-inch orchid pot: 1-2 pots with slotted sides (plastic or terracotta). Pro tip: 💡 Terracotta helps with moisture control but dries faster!
- ○ Balanced orchid fertilizer: 1 bottle (20-20-20 or 10-10-10 NPK ratio). Optional: Use a bloom booster (10-30-20) every 4-6 weeks.
- ● Spray bottle: 1 (8-16 oz) with a fine mist nozzle for hydration.
- ● Pruning shears: 1 pair (sterilized with rubbing alcohol).
- ○ Household items: 1 pair of gardening gloves (optional but handy!).
- ● 1 small hand trowel (for repotting).
- ● 1 thermometer/hygrometer (to monitor temp/humidity, 60-80°F and 40-70% humidity ideal).
- ● Grow lights: 1 LED full-spectrum bulb (12-14 hrs/day) if natural light is <1000 ft-candles.
- ● Humidity tray: 1 (with pebbles + water) to boost moisture levels.
- ● Orchid-specific wetting agent: 1 bottle (like Wet ‘n’ Forget) to reduce water beading.
- ● Epsom salt: 1 small box (for magnesium boost—1 tsp/gallon monthly).
Step-by-Step guide to reviving indoor orchids after bloom
Here’s how I nurse my orchids back to health after flowering—no complicated routines, just smart care.
🌱 Step 1: Trim the Spent Flower Spike Correctly
Wait until the flower spike turns completely brown and crispy before cutting. This ensures the plant has redirected all energy to its roots. Use clean, sharp scissors and cut 1 inch above a node (the small bump where leaves meet the stem). If you cut too low, you risk disease; too high, and you waste potential rebloom energy.
I always sterilize my scissors with rubbing alcohol between cuts—orchids are sensitive to bacterial entry points. After trimming, inspect the plant for any remaining flower buds or soft green tissue. If you see any, leave them; the plant will finish processing them naturally. This step is critical because a clean cut promotes faster recovery and stronger new growth.
💧 Step 2: Adjust Watering to Encourage Root Recovery
Reduce watering immediately after trimming—orchids need 1-2 weeks of drier conditions to stimulate root growth. Water only when the top inch of bark mix feels completely dry. I use the "soak-and-drain" method: place the pot in a sink, run water through the mix for 10-15 seconds, then let it drain fully. Never let orchids sit in water; their roots rot easily.
Here’s the thing—overwatering now will smother new root development. You’ll know you’re doing it right when the pot feels light between waterings. If condensation forms on the inside of the pot, that’s a sign you’re watering too often. Once you see new root tips emerging from the bottom of the pot (usually in 3-4 weeks), you can gradually return to your normal watering schedule.
☀️ Step 3: Provide Bright, Indirect Light for New Growth
Move your orchid to a spot with bright, indirect light—think east-facing window or 2-3 feet from a south window. Direct sunlight will scorch leaves, but too little light means weak, etiolated growth. If your home has low light, supplement with a grow light 6-12 inches away for 12-14 hours daily. I notice new leaves forming within 4-6 weeks when light conditions are ideal.
Watch for leaf color changes: healthy leaves stay medium green. If they turn yellow, you’re overwatering; if they darken or develop brown tips, the light is too intense. Adjust placement until you find the sweet spot—where leaves stay vibrant and the plant feels sturdy when you gently wiggle it. This is the moment that matters: balanced light triggers the plant’s rebloom cycle.
✂️ Step 4: Fertilize Strategically to Stimulate Rebloom
Start fertilizing again after 6-8 weeks with a balanced orchid fertilizer (20-20-20 or similar) diluted to half strength. Apply every 2-4 weeks during active growth (spring and summer). I prefer liquid fertilizers because they’re absorbed quickly and don’t risk salt buildup. Always water thoroughly before and after fertilizing to prevent root burn.
Don’t skip this (I learned the hard way): if you fertilize too early, the plant focuses on foliage instead of flower spikes. Wait until you see 2-3 new leaves and active root growth before resuming regular feeding. For rebloom, switch to a high-phosphorus fertilizer (like 10-30-20) in late summer to encourage spike development. You’ll notice flower buds forming in 3-5 months** if all conditions are right.
Tips & tricks for perfect orchid recovery after flowering
Between us, the first few weeks after your orchid blooms can make or break its long-term health. Here's what I've learned from watching dozens of these plants rebound—or fail—after their flower show.
The Cutting Edge: In Step 1, when you're deciding whether that flower spike is truly brown and crispy, give it an extra day. The spike should crumble easily between your fingers—if it still has any green or pliable sections, wait one more day. I've seen orchids develop bacterial infections from cuts made too early, and once that happens, you're fighting a losing battle. Also, if your orchid has multiple spikes, prioritize cutting the oldest ones first—they're sapping the most energy from your plant.
Root Revival Strategy: During that critical 1-2 week dry period in Step 2, I recommend weighing your pot before and after watering. A properly drained pot should weigh about 20-30% less when dry. If you're unsure about the "top inch dry" test, use a chopstick: insert it gently into the mix. If it comes out clean, it's time to water. The goal here is to mimic the plant's natural dry season—just enough moisture to keep roots alive but not enough to encourage new growth too soon.
Lighting Insight: For Step 3, if you're using artificial grow lights, position them just above the tallest leaves—not the top of the plant. Orchids grow toward light, so you want the new growth to reach upward naturally. I've found that rotating the pot a quarter turn weekly ensures even light exposure all around. And here's a pro move: if your orchid develops new leaves that are dark green with purple undersides, it's getting too much light—move it back immediately.
Pro Tips for Care For Indoor Orchids After Flowering
- Between us, the first few weeks after your orchid blooms can make or break its long-term health. Here's what I've lea...
- The Cutting Edge: In Step 1, when you're deciding whether that flower spike is truly brown and crispy, give it an ext...
- Root Revival Strategy: During that critical 1-2 week dry period in Step 2, I recommend weighing your pot before and a...
Frequently asked questions
Got questions about post-flowering orchid care?
You’re not alone! Here are answers to the most common concerns—so you can keep your orchid thriving and ready for its next stunning bloom.
How long does it take for an orchid to rebloom after flowering?
Most indoor orchids (like Phalaenopsis) take 3–6 months to rebloom after their flowers fade, depending on light, temperature, and care. Patience is key—some varieties need a full rest period (like 8–12 weeks of cooler temps) before sending up new spikes.
Should I cut the flower spike after blooms fade?
Not always! If the spike is green and healthy, leave it—it may produce new blooms or baby orchids (keikis). If it’s dry and brown, trim it 1–2 inches above the base. For Phalaenopsis, you can also cut it back to a node (a bump on the stem) to encourage a new spike.
Why are my orchid leaves turning yellow after flowering?
Yellowing leaves often signal overwatering or nutrient burnout post-bloom. Let the roots dry slightly between waterings and repot if the soil is compacted. If only the bottom leaves yellow, it’s natural aging—trim them carefully. For widespread yellow, check for pests or root rot.
Do orchids need less water after flowering?
Yes! Reduce watering by 20–30% during the rest phase (when the spike is dormant). Overwatering stresses the plant and can rot roots. Water only when the top inch of soil feels dry, and avoid soggy pots. A humidity tray (pebbles + water) can help maintain moisture without drowning the roots.
Can I fertilize my orchid right after it finishes blooming?
Wait 4–6 weeks before resuming fertilizer. Use a balanced orchid mix (20-20-20 or 10-10-10) at half-strength every 2–4 weeks during active growth. Avoid high-nitrogen fertilizers—they encourage leaves over blooms. Flush the soil with water monthly to prevent salt buildup.
Wrapping up and next steps
Caring for your orchid after flowering is all about patience, consistency, and love—just like nurturing any beloved plant.
By adjusting light, watering wisely, and giving it the right nutrients, you’ll set the stage for stunning blooms again. 🌸 With these simple steps, your orchid will thrive and reward you with beauty for years to come!
Ready to see those vibrant flowers return? Start today—grab your orchid, follow the tips, and enjoy the journey of watching it flourish! 💪