Propagation
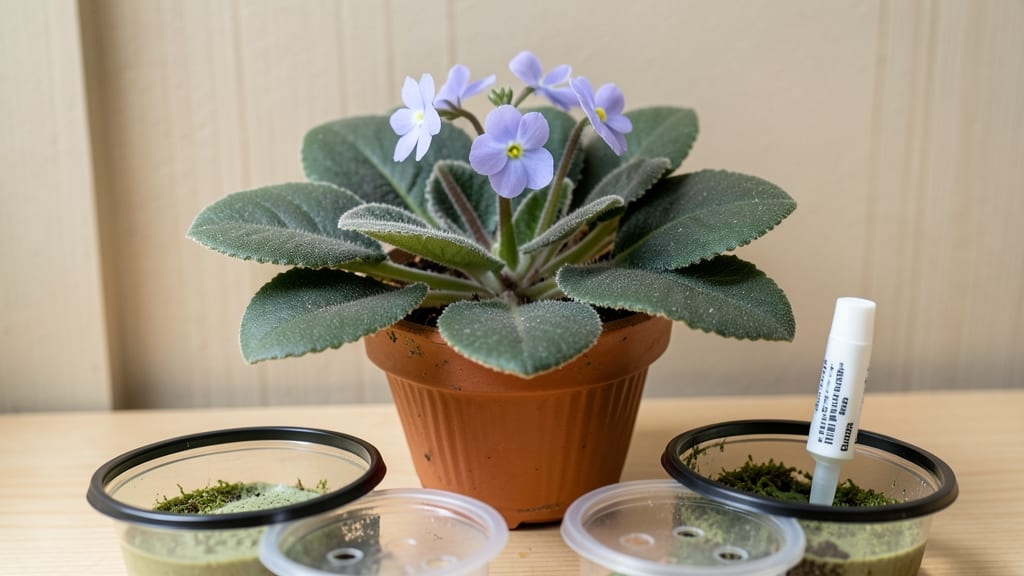
Growing flowers from cuttings is like cloning your favorite plants—except you don’t need a lab coat. 🌸 The secret to success starts with the right cuttings, a clear glass of water, and a little patience. I’ve turned wilted stems into thriving plants this way, and you can too.
You’ll need just a few supplies: sharp scissors, a clean jar, and some rooting hormone (optional but helpful). The best cuttings come from healthy stems—look for new growth that’s about pencil-thick and has a few leaves. Geraniums, coleus, and succulents are some of the easiest to root this way.
Within 2-4 weeks, you’ll see tiny roots forming in the water. Once they’re 1-2 inches long, transplant them into soil and watch them grow into full, blooming plants. The best part? You’ll have free flowers to share with neighbors or fill gaps in your garden.
This method works year-round for many plants, though some prefer warmer months. If your cuttings rot or refuse to root, we’ll troubleshoot the most common issues—don’t worry, it’s fixable! Let’s get those stems growing.
📚 In This Guide
- What you need
- Instructions
- Tips and common mistakes
- Wrapping up and next steps
What you need
- ● Healthy cuttings: 4–6-inch stems from non-flowering parts of your plant (e.g., geraniums, coleus, or impatiens). Use sharp, clean scissors or pruners.
- ● Clean water: Room-temperature, filtered or distilled water (avoid tap water with chlorine/fluoride). A clear glass jar or vase works best.
- ○ Rooting hormone (optional but helpful): A powder or gel (like Rootone) to speed up root growth. Follow package instructions for dilution.
- ● Small pots or containers: 4–6 inches wide with drainage holes (plastic or terracotta). Fill with well-draining potting mix (e.g., perlite, vermiculite, or a cactus/succulent blend).
- ● Plastic bag or humidity dome: To retain moisture while roots establish (a ziplock bag with holes works!).
- ● Grow lights or sunny windowsill: Bright, indirect light (6+ hours/day). A simple LED grow bulb can help if natural light is lacking.
- ● Fogging bottle: For gentle hydration without overwatering.
- ● Heat mat: Keeps cuttings warm (70–75°F) to encourage faster rooting.
- ● Label markers: To track plant varieties if propagating multiples.
- ● Fertilizer (low-dose): A diluted seaweed or fish emulsion solution after roots form (but avoid overdoing it!).
Step-by-Step instructions for propagating flowers from stem cuttings
Here’s how to turn those wilting bouquet stems into thriving new plants—no green thumb required.
🌱 Step 1: Select and Prepare Healthy Stems
Choose stems that are 4-6 inches long with at least 3-4 leaf nodes (those little bumps where leaves grow). Avoid flowers that have already opened—they’ll drain energy from rooting. Use clean, sharp scissors or pruners to cut just below a node at a 45-degree angle. This increases surface area for better water uptake.
Remove the lower leaves, leaving only the top 2-3 leaves attached. Too many leaves mean the stem will use energy growing foliage instead of roots. Strip off any flowers or buds too, since they’ll compete with new root growth. Here’s the thing—don’t skip this step. I’ve seen beginners leave flowers on, and they just sit there while the stem rots.
💧 Step 2: Root in Water Until Roots Emerge
Place the prepared stems in a clean glass or jar filled with room-temperature water, ensuring the cut end is submerged but leaves stay dry. Change the water every 2-3 days to prevent bacterial growth. You’ll know it’s working when tiny white roots appear after 2-4 weeks. Some cuttings like coleus or pothos root faster—sometimes in just 10 days—while others like hydrangeas take closer to 3 weeks.
Keep the container in bright, indirect light—a sunny windowsill works, but avoid harsh midday sun that can overheat the water. If you notice the water turning cloudy or smelly, dump it and refresh immediately. That’s your signal bacteria’s moved in, and it’ll slow (or stop) root growth. Real talk: I’ve lost cuttings this way, so don’t ignore it.
🪴 Step 3: Plant Rooted Cuttings in Soil
Once roots reach 1-2 inches long, it’s time to transition to soil. Fill a small pot with well-draining potting mix and dig a hole slightly deeper than the root length. Gently place the cutting in, firm the soil around it, and water lightly to settle everything. The top 1-2 inches of roots should stay just below the soil surface—burying too deep can cause rot.
Place the newly planted cutting in bright, indirect light for the first week to reduce shock. Avoid direct sun until you see new growth—usually 1-2 weeks after planting. Here’s where it gets fun: Watch the leaves perk up and new stems emerge. That’s your reward for patience. If the leaves start wilting, you’ve either overwatered or the light’s too harsh. Adjust and give it time.
☀️ Step 4: Acclimate and Maintain Growth
After 2-3 weeks in soil, gradually introduce the cutting to more sunlight—start with 2-3 hours of morning sun, then increase daily. Most cuttings will need 4-6 hours of light once established. Water when the top inch of soil feels dry, but avoid soggy soil. Overwatering is the #1 killer of new cuttings—roots need air too.
Fertilize lightly after 4-6 weeks with a balanced, water-soluble fertilizer diluted to half strength. This encourages stronger growth without overwhelming the roots. You’ll know you’re doing it right when the plant starts producing new leaves and stems. If growth stalls, check the roots—if they’re mushy or black, you’ve got rot. Start over with fresh cuttings.
Tips & tricks for perfect flower propagation
Turning wilting stems into thriving plants is easier than you think—here’s how to avoid common pitfalls and maximize success.
Selection is Everything: In Step 1, focus on stems with at least 3-4 leaf nodes—they’re the powerhouses for root growth. I always check for freshness by gently squeezing the stem: if it snaps cleanly, it’s ready. Avoid stems with yellow leaves or soft spots, as these signal stress that’ll slow rooting. The 4-6 inch length gives you enough energy reserves for the transition to soil.
Water Quality Matters: During Step 2, use filtered or bottled water if possible—tap water often contains chlorine or fluoride that can inhibit root growth. I’ve noticed cuttings in chlorinated water take nearly twice as long to root compared to filtered. Change the water every 2-3 days religiously; I keep a small timer labeled "Water Change" on my windowsill as a reminder. Cloudy water means bacteria’s already moved in—dump it immediately and refresh.
Light Balance is Critical: Bright indirect light in Steps 2 and 3 is non-negotiable. I place my cuttings on an east-facing windowsill where they get morning sun but avoid the harsh afternoon rays. A sheer curtain helps diffuse light without blocking it completely. Too little light means leggy, weak stems; too much causes the water to overheat and cook the roots. Watch for water temperature—it should stay around room temperature (70-75°F).
Soil Transition Secrets: When moving to soil in Step 3, I make a small hole slightly larger than the root ball to avoid damaging new roots. Gently tap the sides of the pot after planting to help soil settle naturally—this prevents air pockets that can cause rot. The top 1-2 inches of roots should peek just below the surface; if buried too deep, they’ll suffocate. I always water lightly after planting to help the roots establish contact with the soil.
Pro Tips for Grow Flowers From Cuttings
- Turning wilting stems into thriving plants is easier than you think—here’s how to avoid common pitfalls and maximize ...
- Selection is Everything: In Step 1, focus on stems with at least 3-4 leaf nodes—they’re the powerhouses for root grow...
- Water Quality Matters: During Step 2, use filtered or bottled water if possible—tap water often contains chlorine or ...
Frequently asked questions
Got questions?
Growing flowers from cuttings is rewarding but can feel tricky at first. Here are answers to the most common concerns—so you can propagate with confidence!
Can I grow any flower from cuttings?
Not all flowers root easily from cuttings! Best options include geraniums, coleus, bougainvillea, and hydrangeas. Avoid woody stems (like roses) unless you’re experienced—some need special rooting hormones or grafting. Check if your plant is non-hardwood (green, flexible stems) for the best success.
How long does it take for cuttings to root?
Patience is key! Most cuttings root in 2–6 weeks, depending on the plant and conditions. Watch for tiny white roots sprouting in water or firmness at the stem’s base when planted in soil. Pro tip: Keep humidity high (use a plastic bag or propagator) to speed things up!
Should I root in water or straight into soil?
Both work, but it depends on the plant! Water rooting lets you monitor progress (great for beginners), while soil rooting reduces transplant shock. Try this: Start with water for easy check-ins, then transfer to moist soil once roots hit 1–2 inches. Avoid overwatering—root rot is a sneaky killer!
What if my cuttings rot or die?
Don’t panic! Rot happens when stems sit in too much moisture or lack airflow. Fix it: Trim mushy parts, dip in cinnamon (natural antifungal), and replant in fresh, well-draining soil. Prevent it: Use clean scissors, avoid overcrowding, and keep cuttings in bright, indirect light.
Can I reuse old cuttings from last year’s flowers?
Dried or woody stems won’t root, but green, semi-hardwood cuttings (like from last season’s growth) can still work. Just ensure they’re disease-free and take fresh cuttings from healthy plants. Bonus: Store cuttings in a damp paper towel in the fridge for up to 2 weeks if you’re not ready to propagate!
Wrapping up and next steps
Growing flowers from cuttings is a rewarding and budget-friendly way to expand your garden—no green thumb required! 🌱 With just a few simple steps, you can turn leftover stems into thriving plants.
Start with healthy cuttings, root them in water, and soon you’ll be enjoying lasting blooms that multiply your favorite flowers.
Ready to dive in? Pick a plant, grab your supplies, and give propagation a try! Once you’ve mastered the basics, experiment with different flowers or even share your newfound skills with fellow gardeners. Happy growing!