Flowers
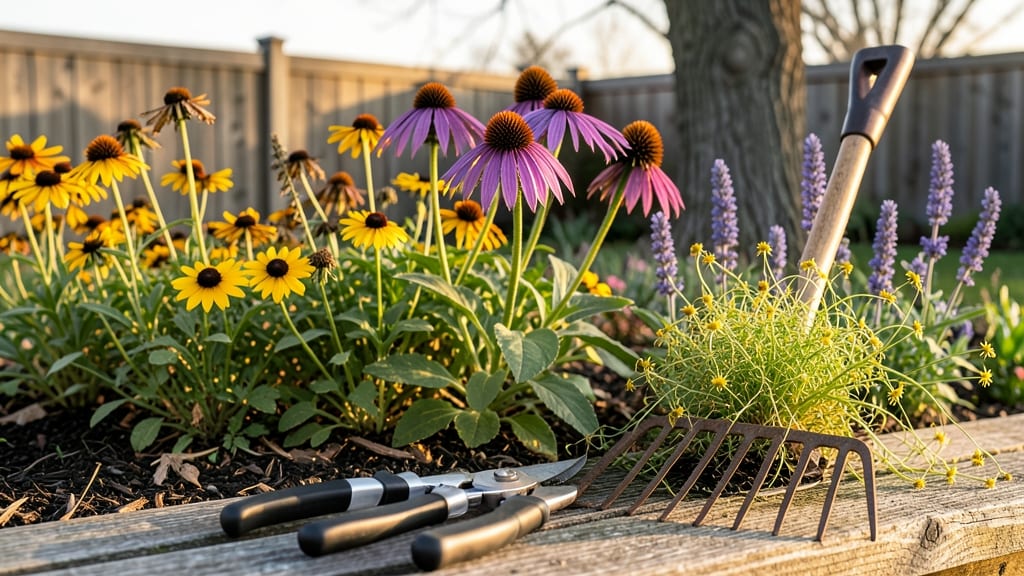
Your flower bed clean out isn’t just about clearing clutter—it’s the secret to vibrant blooms that outshine last year’s garden. I’ve learned the hard way that skipping this step means struggling with stubborn weeds and soil that won’t cooperate.
The right approach turns a messy chore into a foolproof way to refresh your space before planting season even begins.
Start with three essential tools: heavy-duty gloves, sharp pruners, and a sturdy rake. Remove dead plants and weeds at the base to prevent regrowth, then fluff the soil with a fork to break up compaction.
This 30-minute reset improves drainage, cuts down on pests, and gives new plants the strong foundation they need to thrive. No fancy equipment—just a method that works every time.
What you’ll end up with is a neat, weed-free bed ready for fresh mulch and new plantings. The soil will smell rich and earthy, not musty, and your garden will bounce back with lush, healthy growth by early summer.
The best part? This clean slate keeps weeds from taking over all season long.
Works for any flower bed size, from small borders to large perennial gardens. Once you see how much easier planting becomes, you’ll never skip this step again. Let’s get that garden looking fresh and ready for action!
📚 In This Guide
- What you need
- Instructions
- Tips and common mistakes
- Wrapping up and next steps
What you need
- ● Garden gloves – A sturdy pair (e.g., nitrile-coated for durability) to protect your hands from thorns, dirt, and debris.
- ● Pruning shears – Bypass pruners (sharp, 5-7" blades) for clean cuts on stems and small branches.
- ● Garden fork or trowel – A heavy-duty fork (12-14" tines) for loosening soil and removing weeds by the roots.
- ● Garden rake – A stiff-bristle rake (8-10" head) to gather debris and level the soil.
- ● Garden bag or wheelbarrow – A heavy-duty 30-gallon bag or 1-cubic-yard wheelbarrow for hauling away waste.
- ● Shovel – A round-point shovel (12" blade) for digging out stubborn weeds or old mulch.
- ● Hose with nozzle – A variable spray nozzle to rinse away dirt and debris from tools and the bed.
- ● Knee pads – For comfort during long cleaning sessions.
- ● Compost bin or bin liner – To collect organic waste for composting.
- ● Handheld leaf blower – Speeds up clearing dry leaves and small debris.
- ● Weed torch – For tough, deep-rooted weeds (use cautiously!).
- ● Soil amendments – Compost, aged manure, or slow-release fertilizer (e.g., 5-10-5 NPK ratio) to replenish nutrients.
- ● Mulch – Shredded bark, pine straw, or cocoa hulls (3-4" layer) to suppress weeds and retain moisture.
Simple steps for a thorough flower bed clean out
Here's how to refresh your garden space without the overwhelm.
Remove All Plant Debris and Old Growth
Start by pulling up all dead annuals, spent perennials, and any winter-killed plants. Grab them at the base and tug firmly—most will come out easily once the soil warms. For stubborn roots or weeds, use a garden fork to loosen the soil first. This prevents breaking off pieces that can rot and spread disease.
Rake away all leaf litter and mulch from last season—this prevents fungal growth and pests from overwintering. I like to collect everything in a wheelbarrow and compost what's left, unless you see signs of disease (like black spots or powdery mildew), which should go in the trash instead.
If your bed has invasive weeds like bindweed or creeping charlie, focus on removing every last root fragment. Even small pieces can regrow, and you'll be fighting them all summer. For tough spots, dig down at least 6 inches deep to get the roots.
Loosen and Aerate the Soil
Use a broadfork or digging fork to aerate the soil to a depth of 8-12 inches. This breaks up compacted layers and lets roots penetrate deeper. Work in sections, lifting the fork straight up and down—don't drag it sideways or you'll slice roots.
If the soil feels heavy or clay-like, mix in 2-3 inches of compost (from the materials you've gathered) to improve drainage and fertility. Spread it evenly over the bed and gently rake it into the top 4 inches of soil. Avoid piling compost in one spot—this creates hot pockets that can burn plant roots.
For beds with heavy thatch (a thick layer of dead stems and roots), use a thatching rake to pull it up before aerating. Thatch blocks water and nutrients from reaching your plants. If you see a thick mat, don't force it—just work around it and compost it separately.
Add Fresh Mulch and Prep for Planting
Spread a 2-3 inch layer of fresh mulch over the entire bed, keeping it 2 inches away from plant stems to prevent rot. I prefer shredded bark or wood chips for a clean, long-lasting finish. For vegetable beds, use straw or leaves to retain moisture.
Rake the mulch lightly to create an even surface, then water it in thoroughly. This settles the mulch and helps it break down faster. The goal is to create a barrier that suppresses weeds while keeping soil moisture even—no clumps or bare spots.
Finally, take a step back and assess your bed. Look for low spots that need extra soil or high spots that might cause water pooling. This is the perfect time to add new plants or divide overcrowded perennials before they wake up from dormancy.
Tips & tricks for a flawless flower bed clean out
Here's what I've learned from years of spring garden prep—these tricks will save you time and frustration while making your flower beds look their best.
Timing is Everything: Wait until the soil warms up to at least 60°F before tackling your flower bed. Cold soil makes plants brittle and roots harder to remove. I always check in early spring when soil temperatures start climbing—this is when dead plants pull out cleanly without breaking. For stubborn weeds, wait for a warm, sunny day when the soil is completely thawed and work when the ground isn't muddy.
Tool Selection Matters: A broadfork is my secret weapon for Step 2's aeration—it's gentler on your back than a shovel and does a better job breaking up compacted soil without slicing roots. For thick thatch layers, invest in a thatching rake with sturdy tines; regular garden rakes just push the thatch around. And always keep a pair of heavy-duty gloves handy—you'll be handling everything from thorny stems to gritty soil.
Compost Strategy: When mixing in that 2-3 inch layer of compost from your gathered materials, focus on the areas where you'll plant new flowers. The top 4 inches of soil is where most roots will grow, so concentrate your compost there. For beds with poor drainage, mix in some coarse sand or perlite along with the compost to improve aeration—this prevents waterlogging that can drown plant roots.
Mulch Placement Tip: When applying your 2-3 inch mulch layer, create a slight depression around existing plant stems to keep mulch 2 inches away. This prevents rot while still protecting roots from temperature swings. For newly planted areas, create small mounds of mulch around each plant to help retain moisture during establishment. And remember—dark mulches like shredded bark absorb more heat, which can be great for warming soil but might need watering more frequently.
Pro Tips for Flower Bed Clean Out
- Here's what I've learned from years of spring garden prep—these tricks will save you time and frustration while making your flower beds look their best.
- Timing is Everything: Wait until the soil warms up to at least 60°F before tackling your flower bed.
- Tool Selection Matters: A broadfork is my secret weapon for Step 2's aeration—it's gentler on your back than a shovel and does a better job breaking up compacted soil without slicing roots.
Frequently asked questions
Got questions about refreshing your flower bed? You’re not alone!
Here are the most common concerns—and straightforward answers—to help you tackle your spring cleanout with confidence.
When is the best time to clean out a flower bed?
The ideal window is early spring (March–April) or late fall (October–November), before new growth starts. This avoids disturbing dormant perennials and gives plants time to recover. Skip winter cleanouts—frozen soil makes removal harder, and early spring bloomers (like daffodils) may still be active.
Do I need to remove ALL the old plants and debris?
Not always! Leave healthy perennials (like coneflowers or hostas) unless they’re diseased or crowded. Focus on removing dead foliage, weeds, and annuals that compete for nutrients. Pro tip: Cut back perennials to 6–12 inches above the ground for a fresh start.
What if my flower bed has invasive weeds?
Tackle invasives like bindweed or creeping Charlie first—they’ll spread if left behind. Pull weeds by hand (with gloves!) or smother them with cardboard or mulch for 4–6 weeks before replanting. For stubborn roots, a vinegar-based herbicide (20% acetic acid) works, but apply on a dry day to avoid harming nearby plants.
Is there a cheaper alternative to buying new soil?
Mix existing soil with compost (homemade or store-bought) in a 2:1 ratio to improve drainage and fertility. For heavy clay soil, amend with sand or perlite. Budget tip: Save money by dividing mature perennials to replant elsewhere—many thrive when split in spring!
My flower bed looks messy after cleaning—did I do it wrong?
Not at all! A "messy" bed often means nutrient-rich soil ready for new plants. If it looks bare, add mulch or temporary ground cover (like clover) to protect soil while you decide on replacements. Recovery tip: Wait 1–2 weeks before planting—this gives soil time to settle and reduces transplant shock.
What tools do I really need for a deep clean?
Start with basics: garden gloves, pruners, a sturdy shovel, and a wheelbarrow. For tough jobs, add a hose with a spray nozzle (to rinse debris) or a soil knife (for weeding). Skip expensive tools—even a fork or rake works for loosening compacted soil.
Wrapping up and next steps
Cleaning out your flower bed doesn’t have to be a daunting task—with the right tools and a little effort, you can breathe new life into your garden and welcome a vibrant spring! 🌸 Remember, the key is patience, preparation, and proper disposal to set the stage for healthy blooms ahead.
Whether you’re tackling weeds, refreshing soil, or prepping for new plants, each step brings you closer to a thriving garden.
Ready to roll up your sleeves? Start small—pick one section at a time—and soon, your flower bed will be the envy of the neighborhood! Grab your gloves, follow the steps, and enjoy the satisfaction of a garden that’s truly revived and renewed.
- 🌱 Next up: Plan your spring plantings—sketch a simple layout or research seasonal favorites!
- 💧 Pro tip: Mulch your freshly cleaned bed to retain moisture and suppress weeds effortlessly.